Our artificial grass installation process is our pride and joy
We’re trusted by so many home owners, business owners, and sports players to install a surface that will last and look good for years so come. So what is it we do that makes each project perfect? Here are the steps we take when replacing a natural lawn, or laying Easigrass on a natural surface.
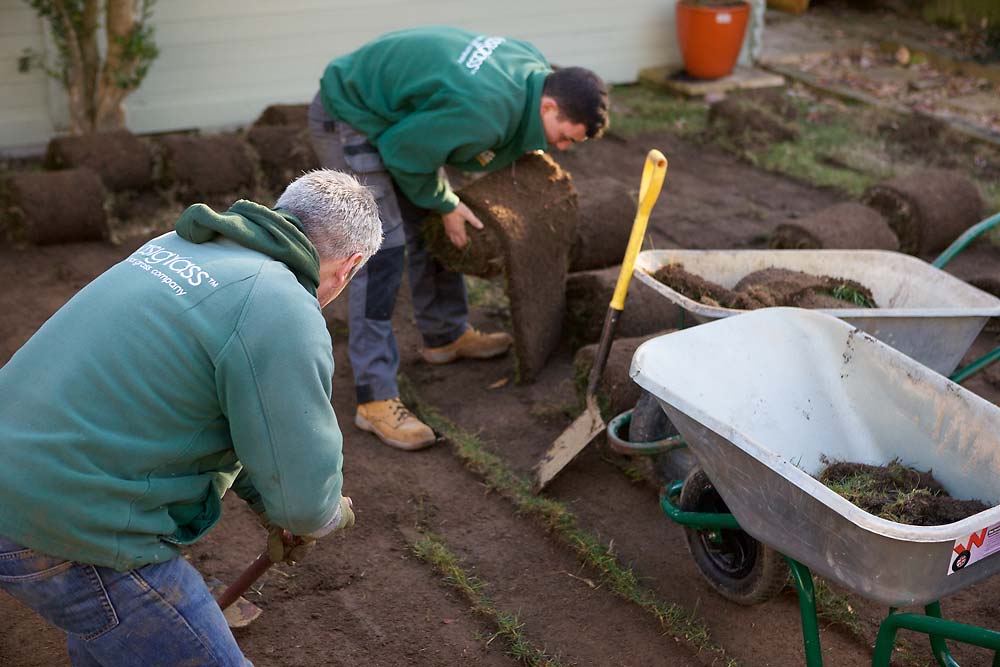 Step 1 – We remove existing earth, dirt and sand to required depth. This is where we get really stuck in and create our blank canvas.
Step 2 – We fill imperfections with aggregate (if necessary and at additional cost), then compact
Step 3 – We level the entire area using specialist equipment to provide a strong base. Our team’s skills really start to shine through at this stage – they’ve got the process to a fine art.
Step 4 – The Easi-Weed membrane sheet is fitted to prevent weed growth.
Step 5 – Install the shock-pad base to provide a cushioned layer underneath the lawn. This is particularly useful for areas that will host children, or the playing of sports.
Step 6 – We supply and fit your chosen lawn surface. This is when it starts to come together, and you can start getting excited about what it’s going to look like!
Step 7 – Apply glue to the edges and joins, designed to withstand weather and footfall. This is a particularly nifty part of the installation.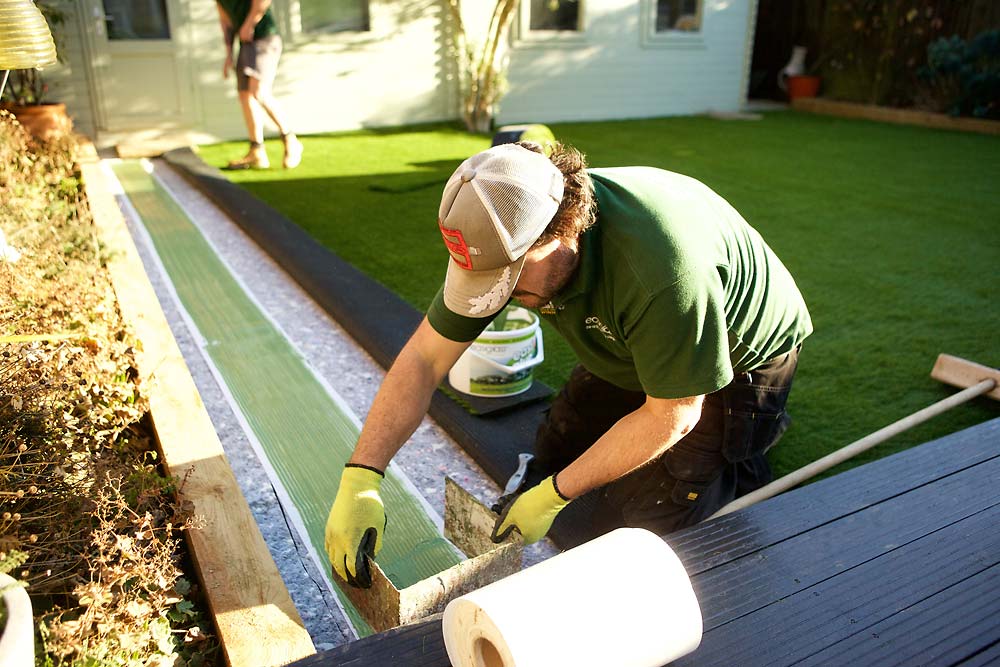
Step 8 – Carefully and precisely close all the seams for a quality finish. Nearly there!
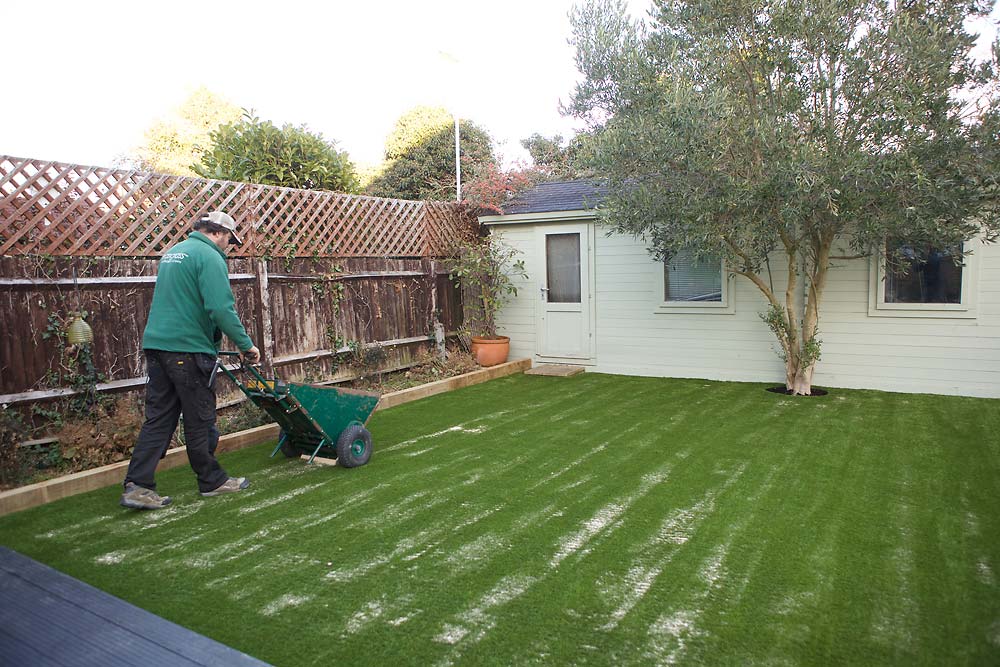
Step 9 – We apply and mechanically brush silica sand infill to ensure lawn’s durability.
Step 10 – This one’s up to you – it’s time to enjoy your Easigrass lawn!
Time and the specific approach of our team depend on your space – we’re always conscious of your requirements, but we hope the above gives you an indication of the quality and efficiency of our installation process. Contact us here to find out more, and to enquire about Easigrass in your garden.
Comments are closed.